Did you know that 50% of consumers said images help them decide what products to buy?
Yes, that's how vital product images are for your eCommerce business. They can help prospective customers decide if they'll purchase from your online store.
If you don't have some enticing product images yet... fret not! Because you'll learn how to set up your product photography studio and take high-quality product images. Here's a quick view of what we'll discuss.
- Prepare the props you need
- Choose a background
- Set up the equipment
- Choose the finest lighting
- Edit the images
And that's not all. Because you're about to learn...
- What is product photography?
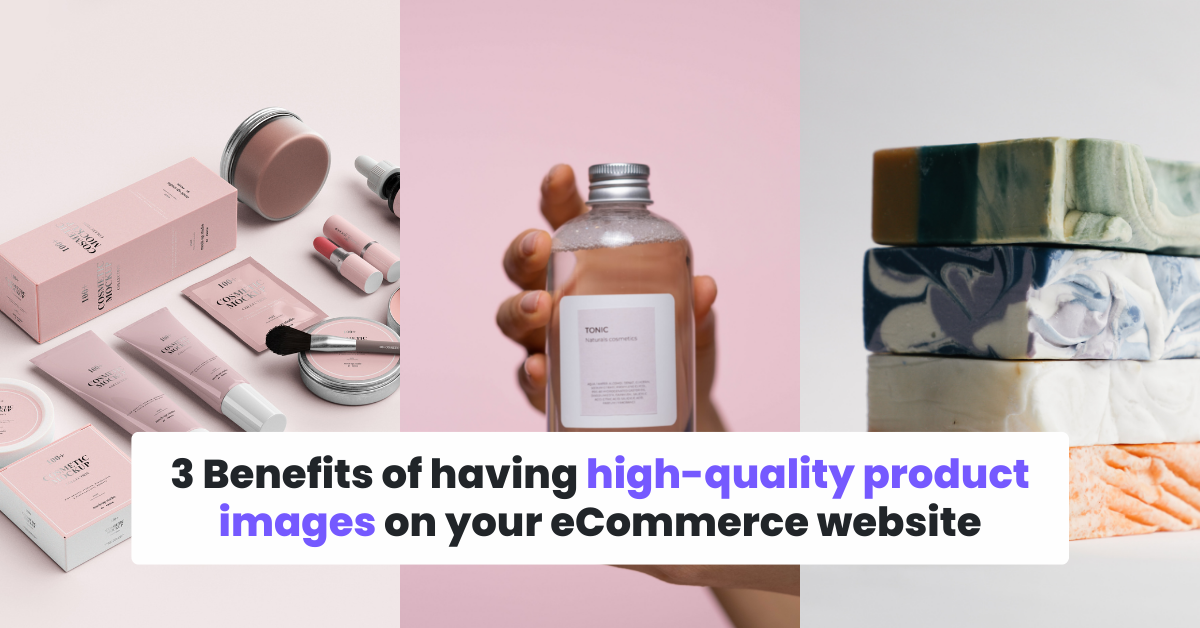
- 3 Benefits of having high-quality Product images on your eCommerce store
- Product photography tips you need to know for your studio setup
With these tips, you can learn how to produce high-quality product photos— even without a professional photographer to do it for you.
Let's get started!
What is product photography?
Product photography takes photos of your products for your websites, social media, and other digital channels.
It's visual content for commercial use. And product photography helps you sell your products through visual communication.
So, it's essential to invest in a professional product photography service. But if you don't have a huge budget to spare, especially as a starting business...
It doesn't mean you can't have great product images for your website because YOU CAN. You can use a professional camera or even your mobile phone to take product photos!
And before we get into the best part of this blog, we need to learn the...
3 Benefits of Having High-quality Product Images on Your eCommerce Website
Product images can...
1. Showcase your products
They're not called product photos for no reason... because the subject of product photos is the products.
And product photography can showcase your products. Of course, showcasing your products is essential because that's how your customers will know what they look like.
You can also be very creative in highlighting the product features. Just remember: the purpose of product photography is to present your products.
That will entice your customers to buy them. The next benefit is...
2. Increase sales
Once you have high-quality product photos and entice your customers to buy, you can increase sales. As I mentioned, images can influence customers' purchasing decisions.
For sure, increasing your sales is one of your business goals. So, having conversion boosters for your eCommerce store is a must. And product photos help you convert more customers.
And let's not forget that product photos can...
3. Build a recognizable brand identity online
If target customers can see your packaging, labels, and images representing your brand... it will be easier to recognize your business.
They will notice your brand even if you're using the images on channels outside your website. And that's important if you want to build a strong eCommerce brand.
Your brand should be memorable to attract more customers and increase customer loyalty.
Now that you know the benefits, you're probably excited to learn...
5 Product photography studio set up tips to smash your product photos
Creating a product photography studio setup isn't a walk in the park. So, the first thing you need to do is...
1. Prepare the props you need
You might need some props to spice up your product photos. But it depends on what kind of concept you have in mind.
I can't give you a list of the props, but here are the things to consider when preparing them... First, answer this:
- What's your product?
Considering the products you sell is one of the crucial things you need to keep in mind. Why? Because that's your basis for the props, you'll need to prepare.
If you're selling beverages, you might need fruits representing their flavors. You can also consider resin droplets or transparent boards.
If you're selling beauty products, you can also prepare other lifestyle objects that will go well with your products. It can be fashion products, sunglasses, pouches, books, etc.
- What's the concept of your shoot?
There are different concepts for different campaigns and seasons. And that's one thing to keep in mind, too.
For example, you have a summer campaign for a beverage product. Then you'll need to prepare props related to the summer season.
Or, if your concept is a bit campy... prepare exaggerated and statement props. If minimalist, stick with neutrals.
Again, it depends on your products and concept. So, let's see an example.
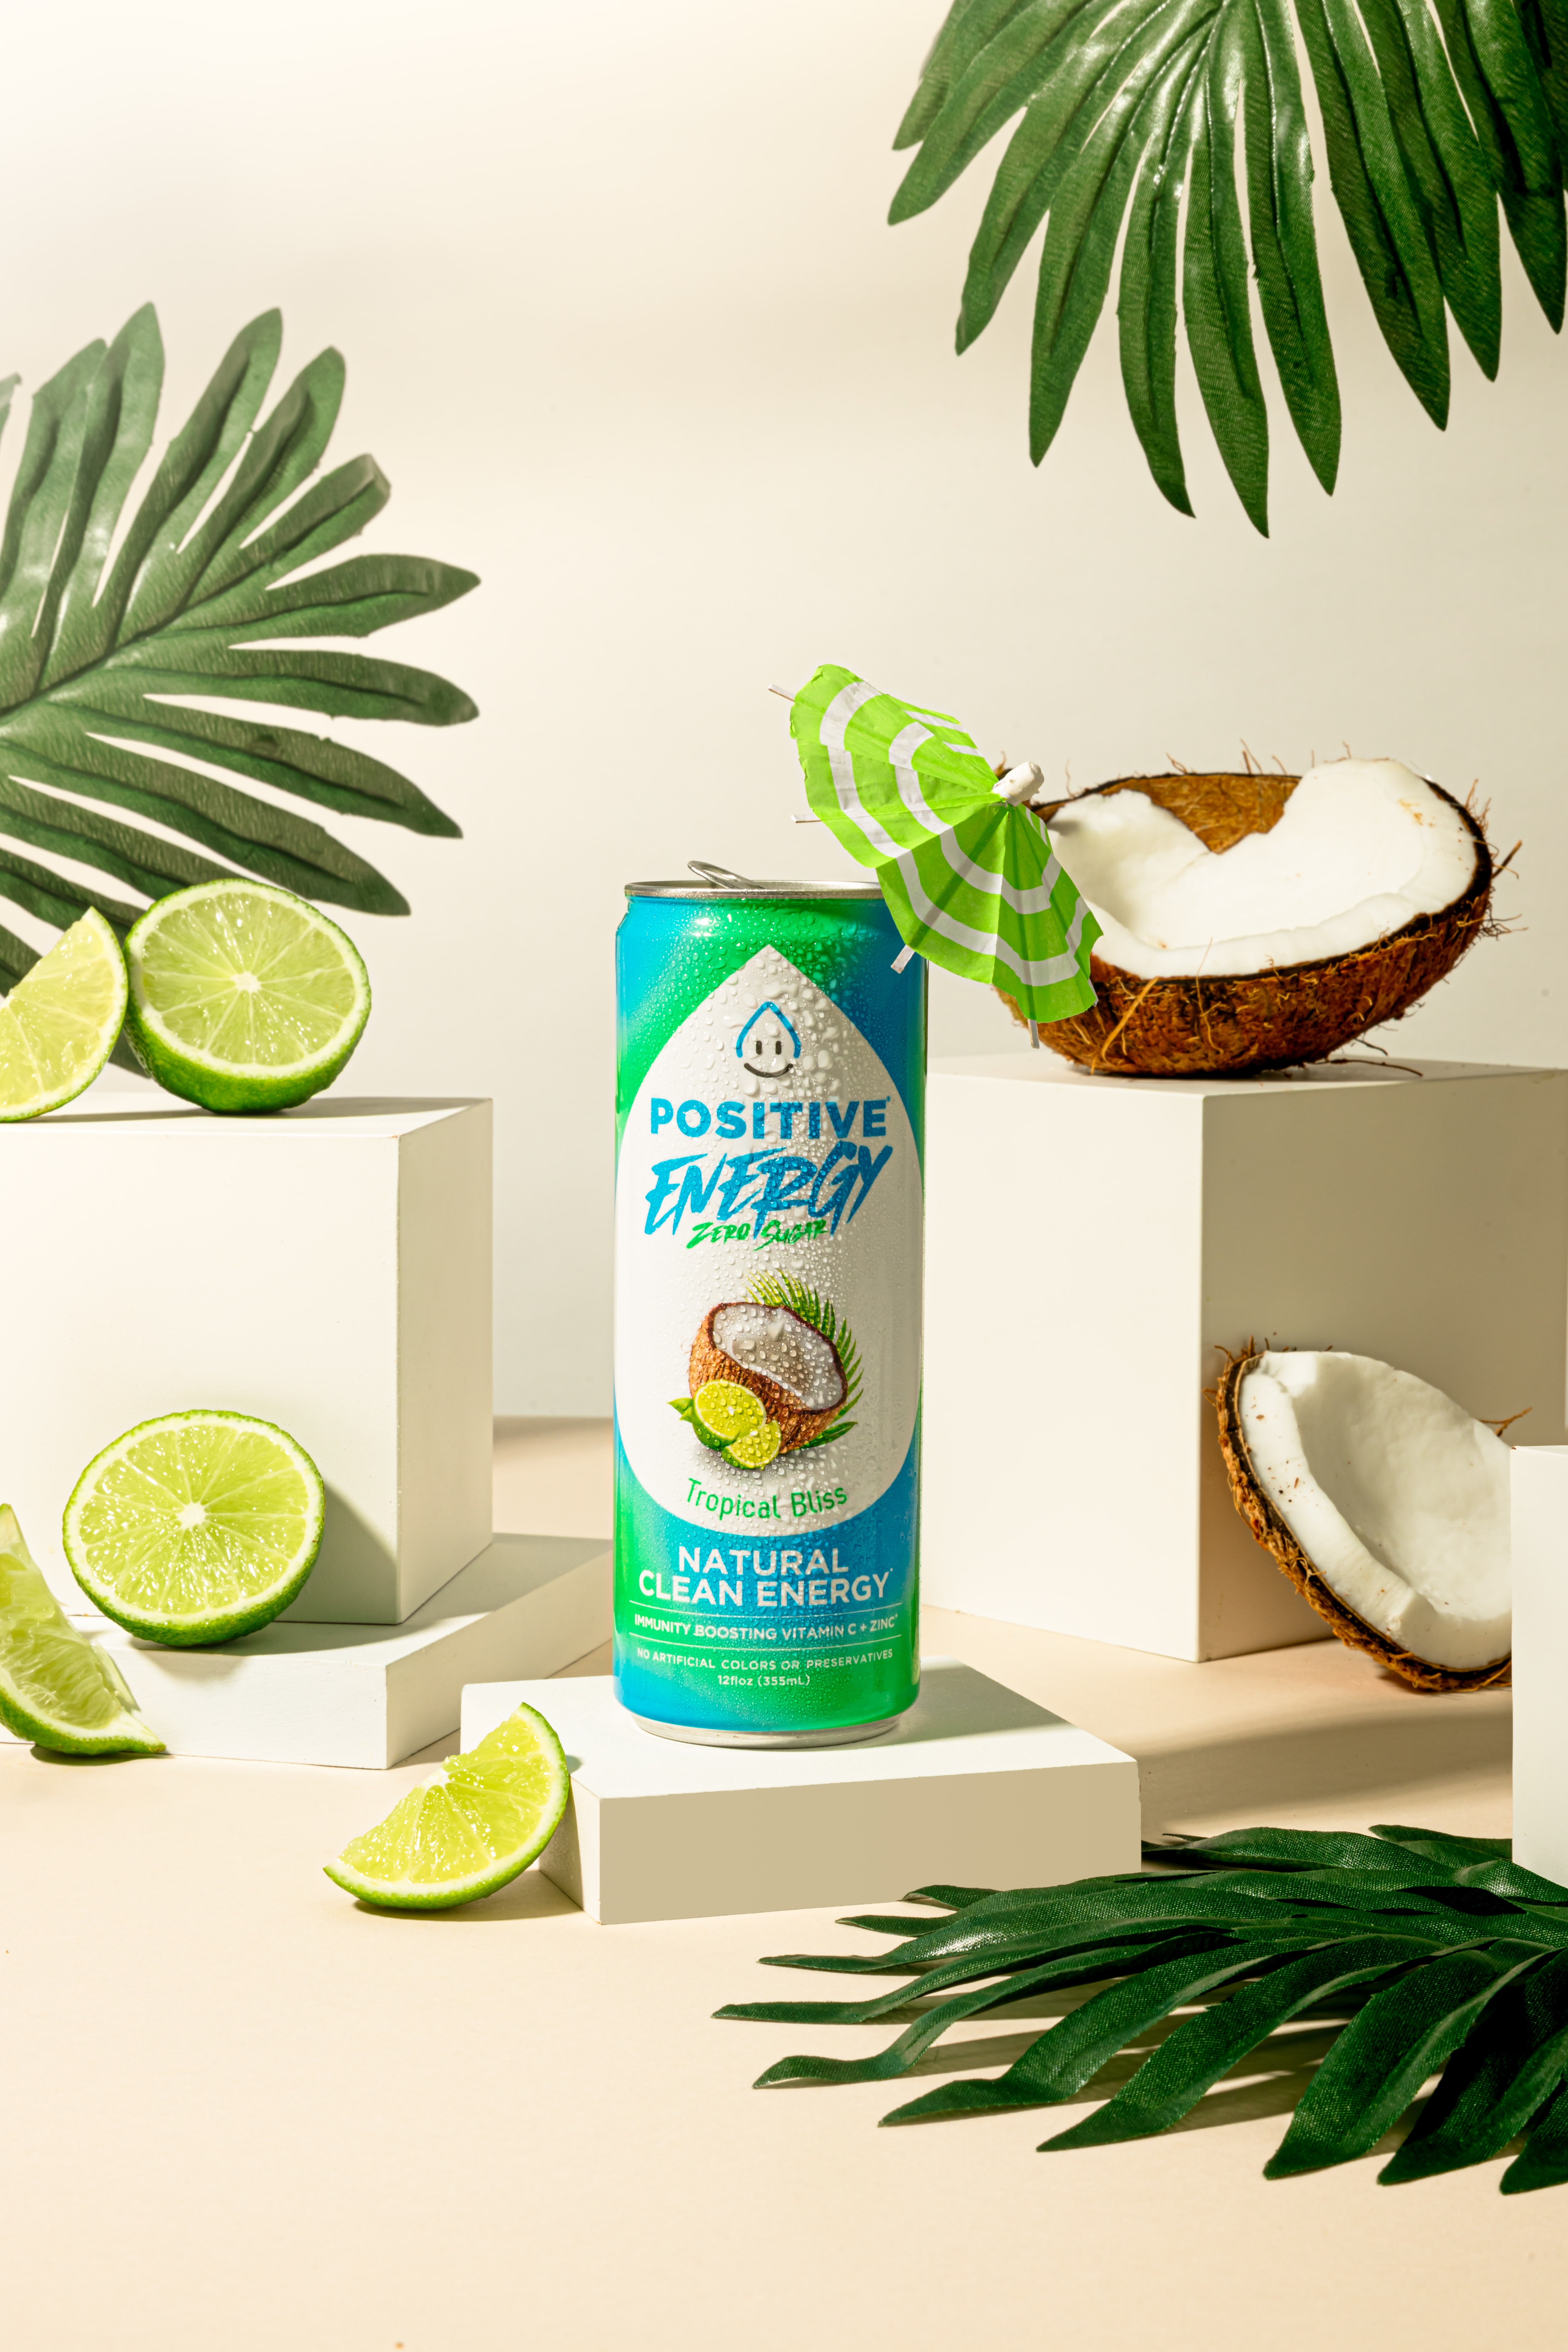
This is an example from Tyler Nix on Unsplash.
Since Positive Energy is a beverage product with a Tropical Bliss flavor, the product photo's overall vibe captures that tropical feel.
The props played a big role, too. There are leaves, citrus fruits, and coconut. You can also see the water droplets that make the product look refreshing.
That's the power of choosing the right props for your products. Another one is...
2. Choose a background
If you plan to have your photo shoot at a product photography studio, there are probably backgrounds available for you to use. But it's still essential to know what background you need for your shoot.
And again, you should consider your products and concept when choosing one. It would be best if you also remember your brand identity.
For example, your brand identity is bold and lively. You might need to use colorful backgrounds that represent your brand.
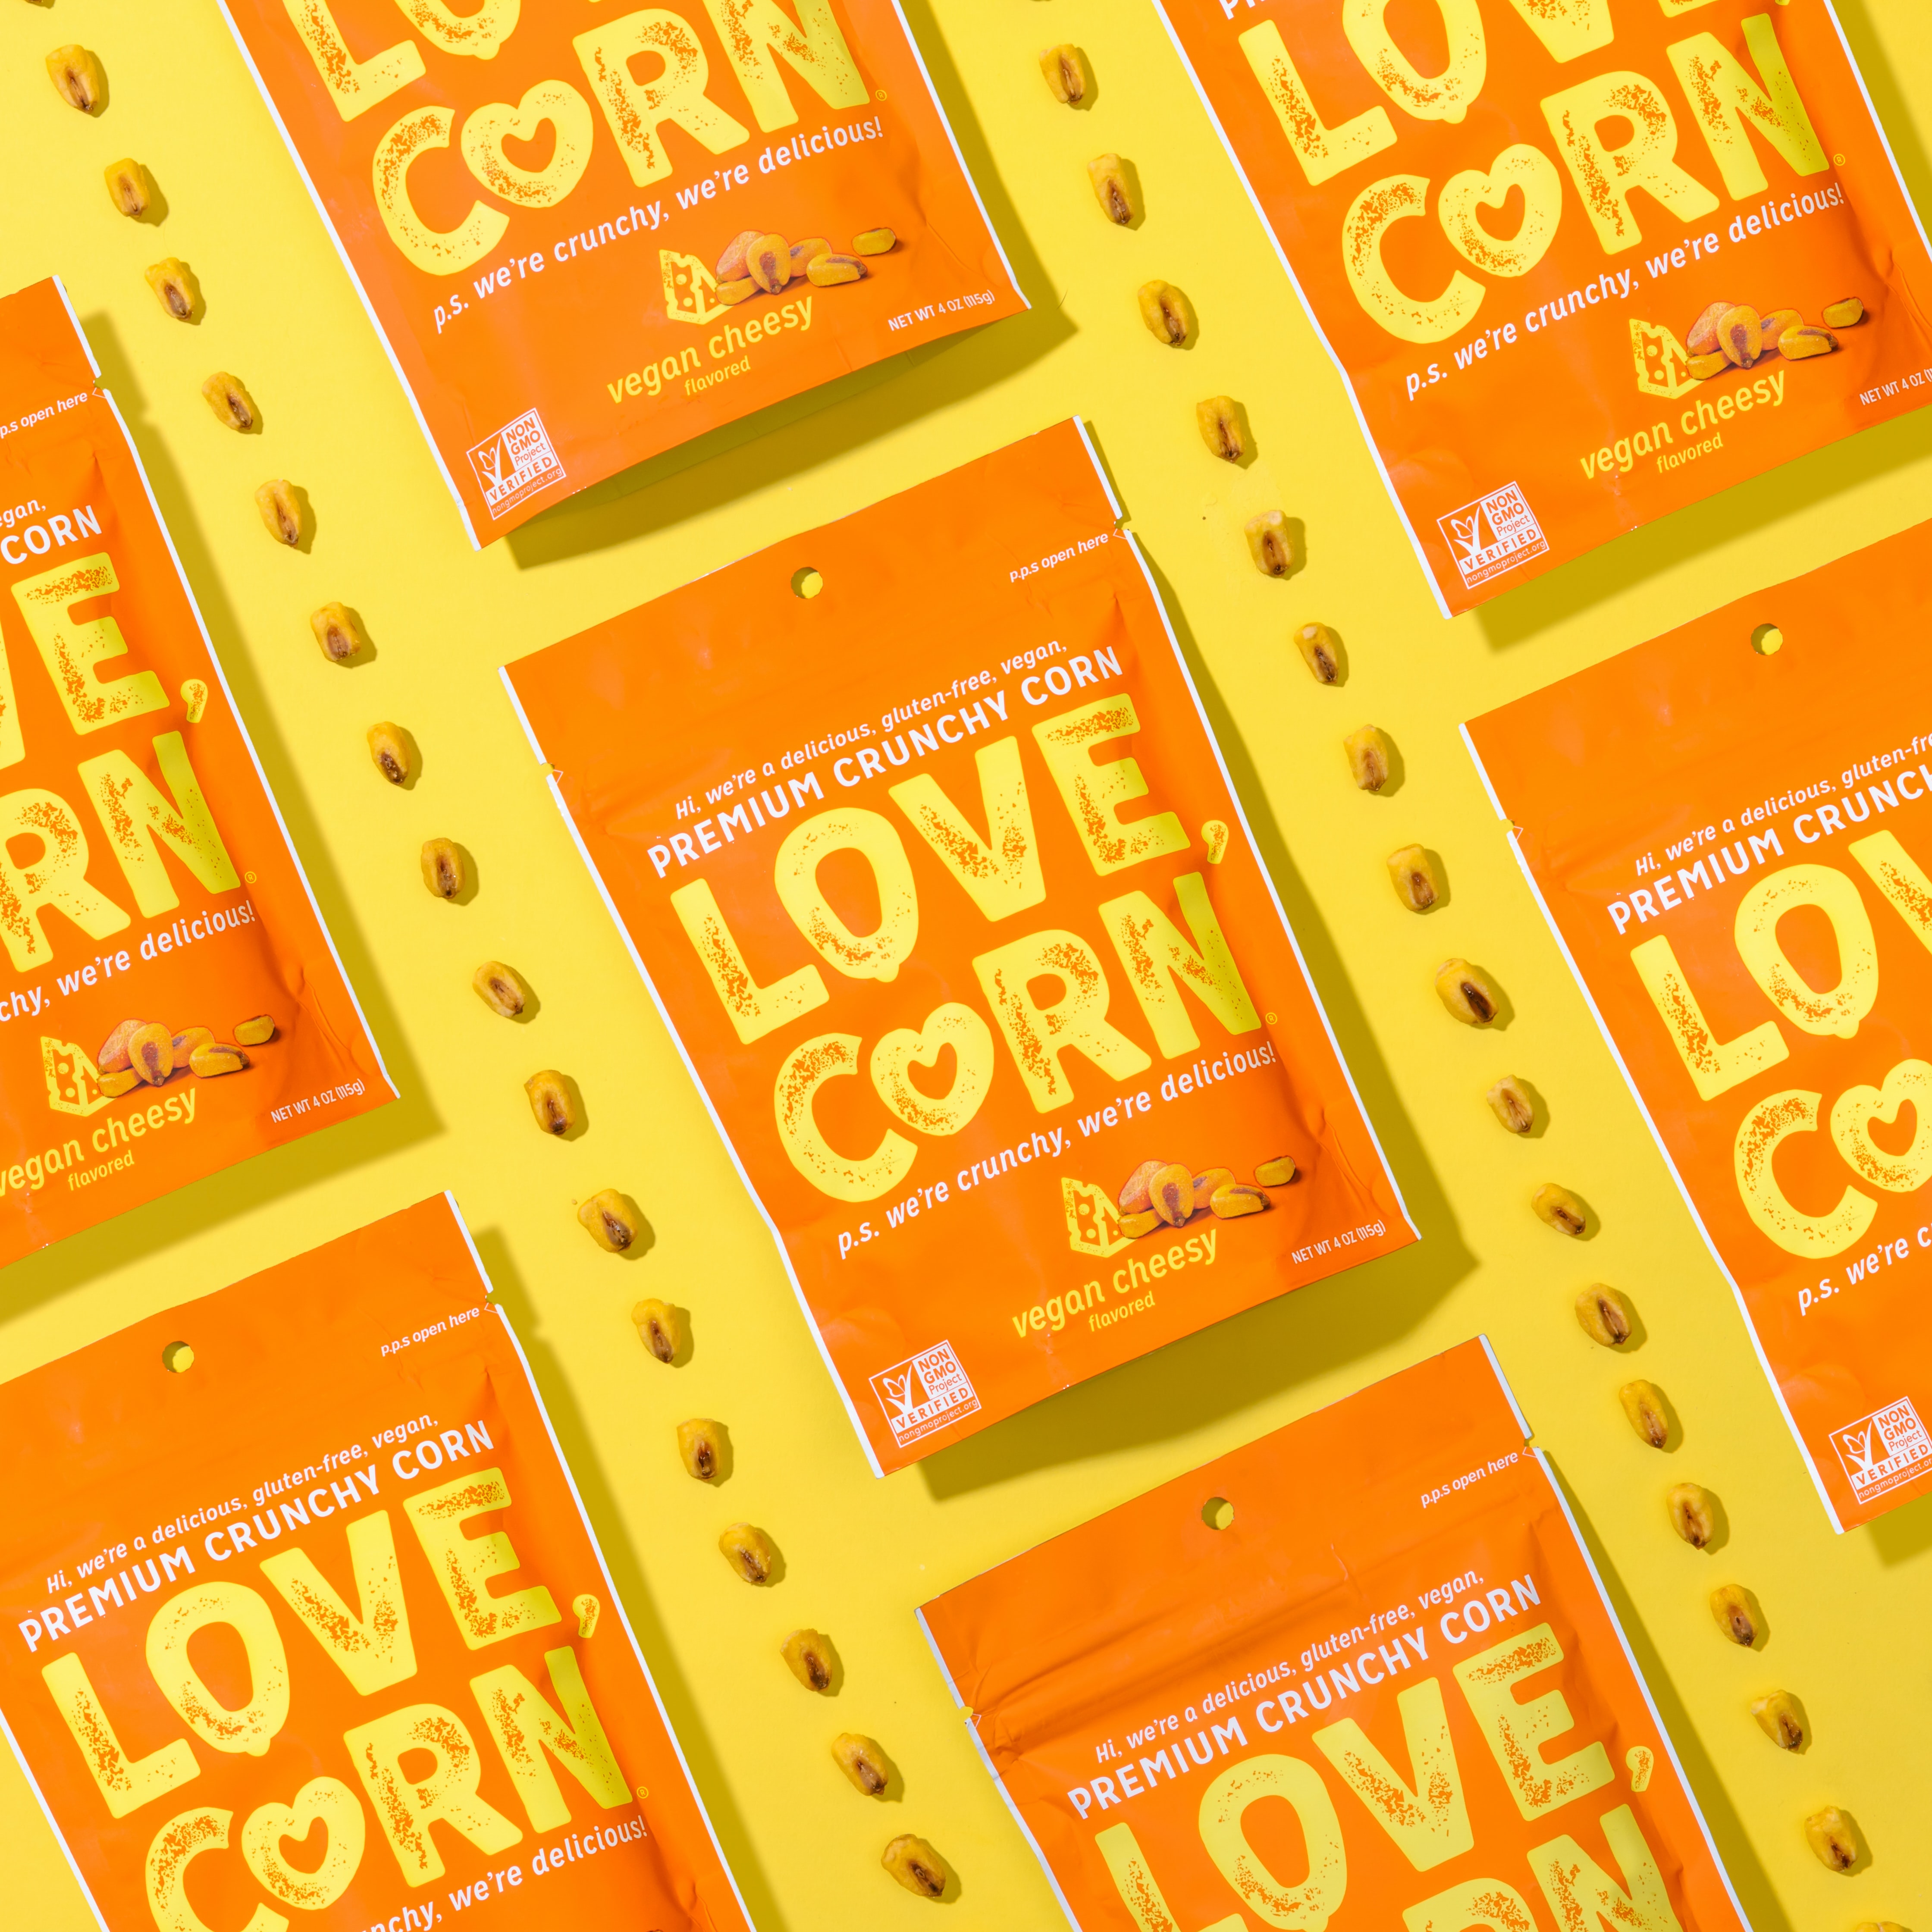
Here's another example from Tyler Nix on Unsplash. You can feel the products are bright and lively because of the choice of background.
Or, if you want to look more "luxury" and premium, you can opt for a dark background. Also, you can never go wrong with having a white background... like this one:
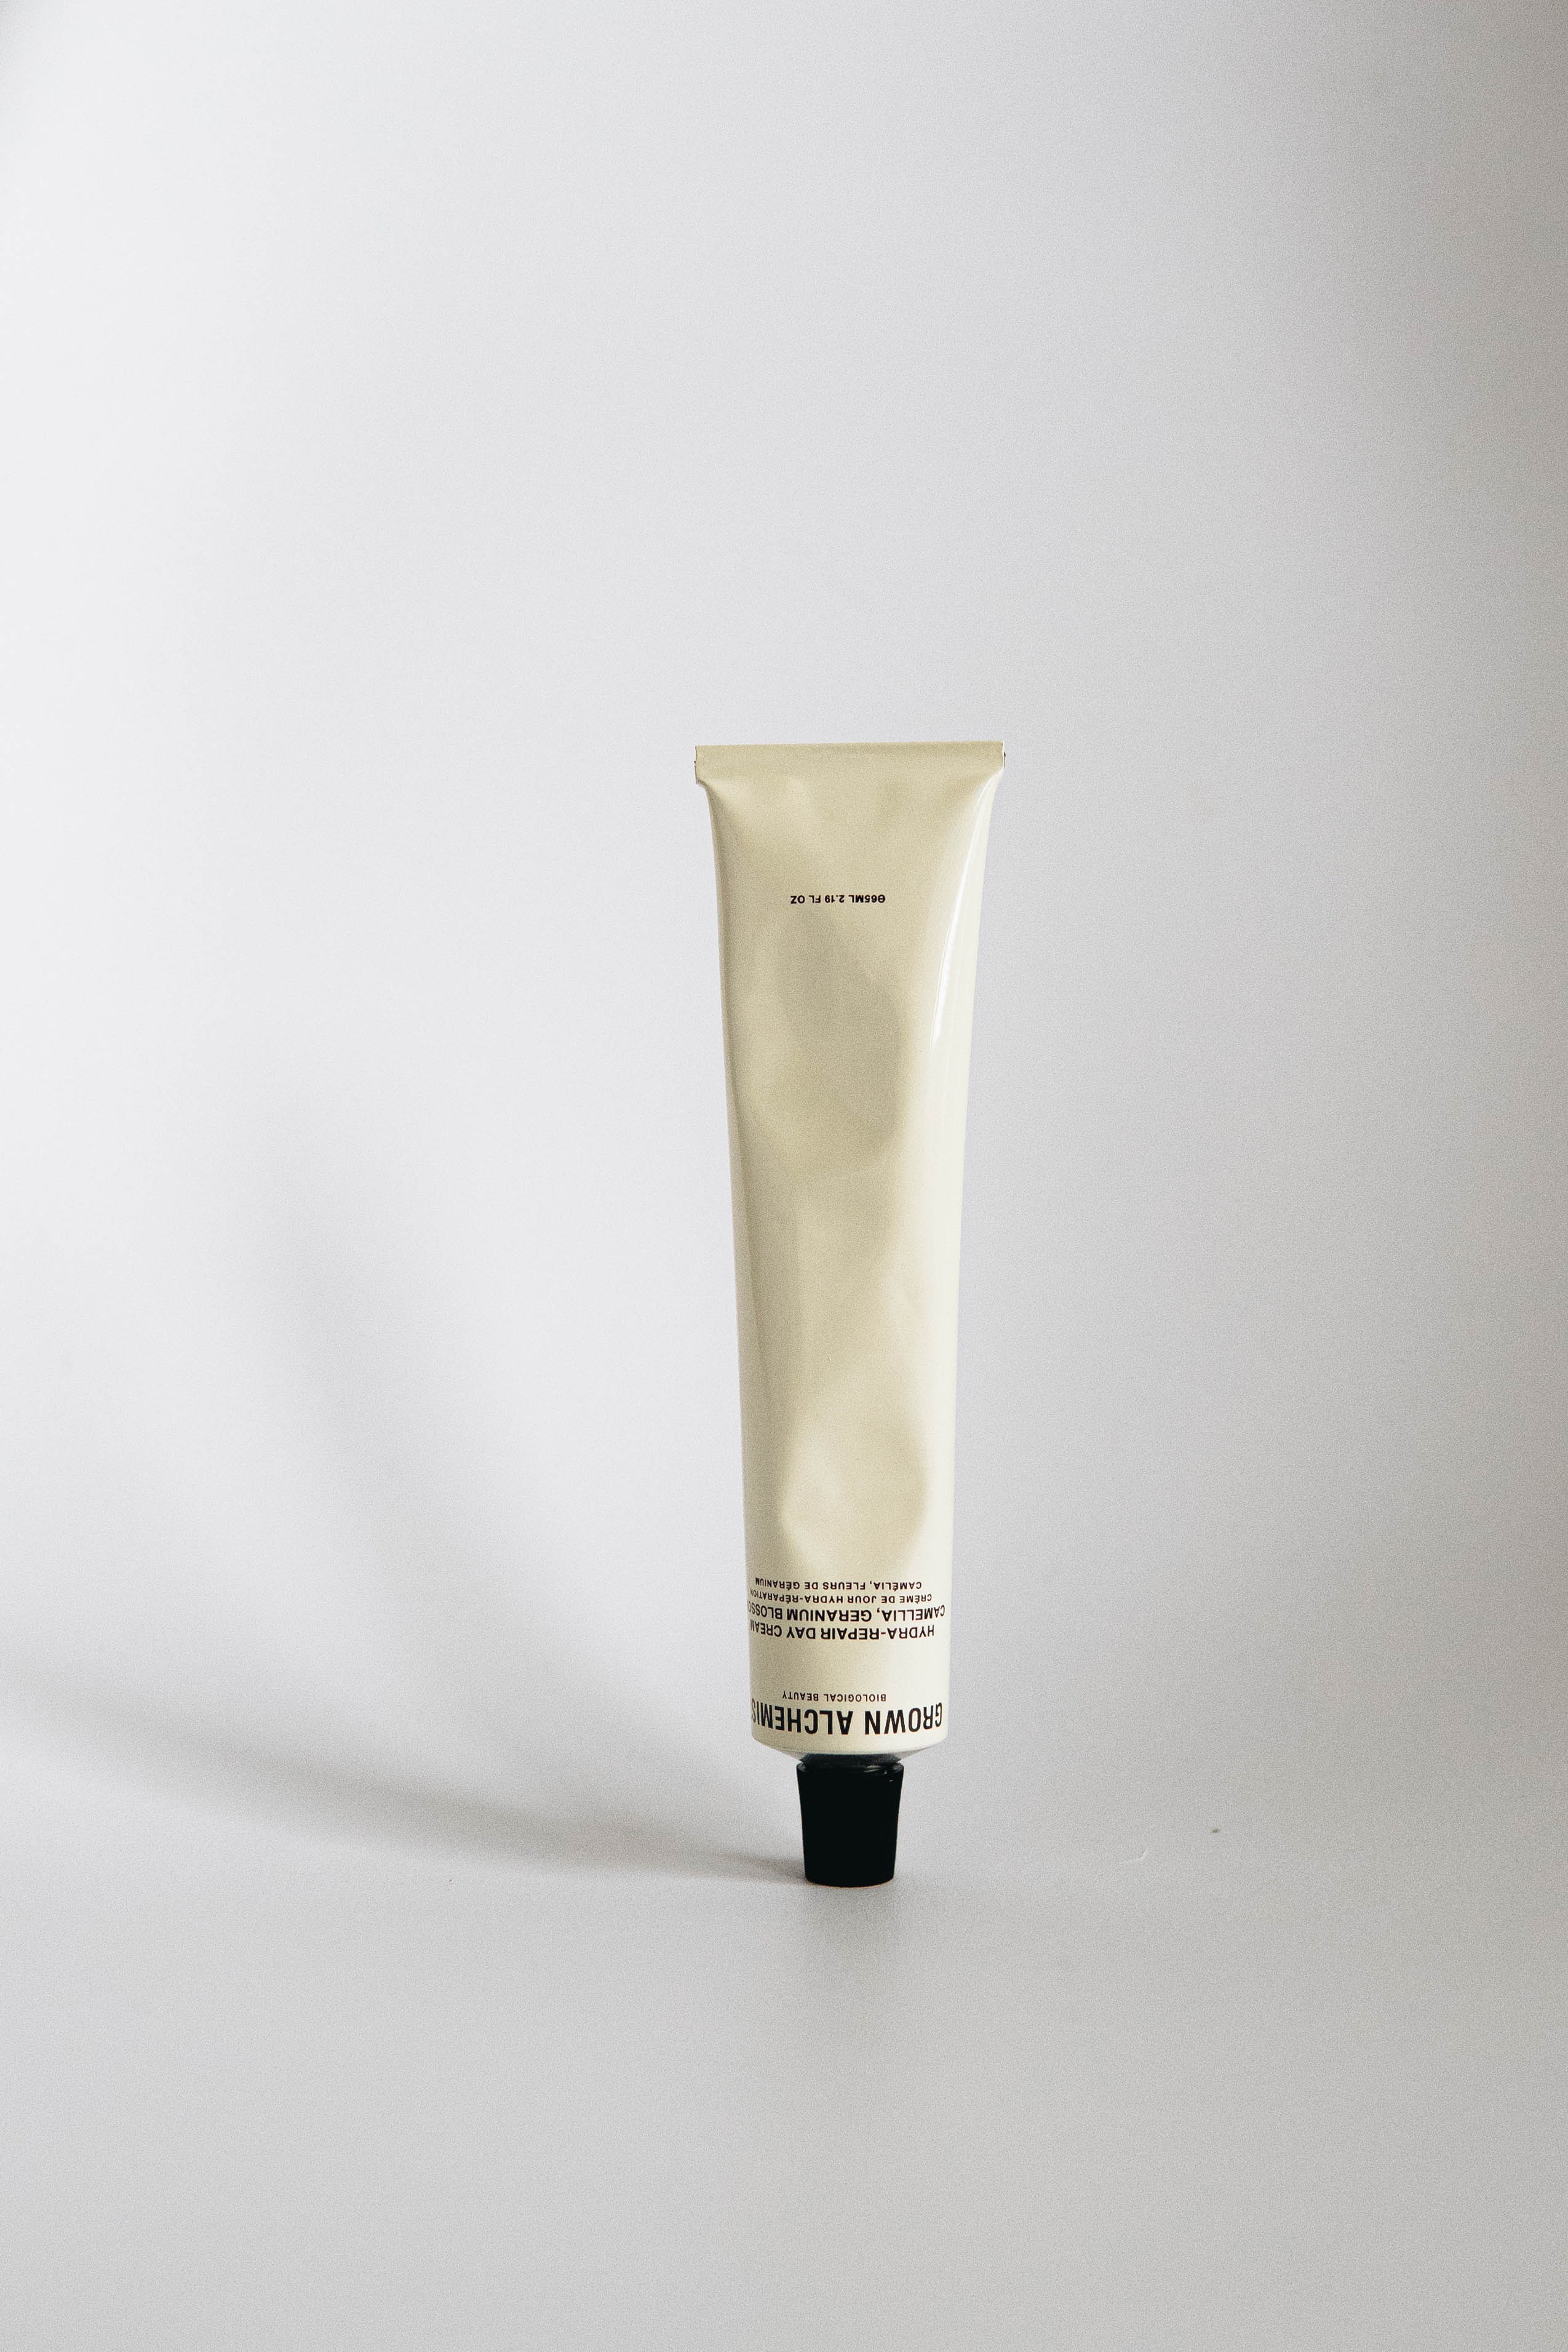
(Source)
A white background can also make your products look classic, premium, and minimalist.
And because it's a clean background, there will be fewer distractions. The main focus of the image will be on your products.
The next photo studio setup tip is to...
3. Set up your equipment
Your equipment should be ready before the shoot. This will save some time so you can focus on other important things.
But wait, what is the equipment you need to prepare?
A. Camera
You can use the best camera you have to conduct the photoshoot... if you don't have your own photographer. Because usually, the photographers provide the cameras.
But if you're working on your own, some cameras you can invest in are mirrorless cameras or DSLR cameras (Digital Single-lens Reflex).
Investing in excellent cameras will help you produce the best photos. Choose the one with more flexible camera settings. You may also need proper storage solutions to keep your equipment and props organized. Budget-friendly options like shelving units or even buying used locker units can help maintain a clutter-free studio space.
B. Tripod
If you're not a professional photographer, your hand might be shaky. So, to take the best photos... you should have a tripod to stabilize.
C. Charging equipment
Make sure you have your charging equipment with you. You don't want to lose your camera's battery life during the shoot. Or, if you do, you want to ensure you can proceed after charging.
D. Lighting equipment
You also need lighting equipment. Why? Because that will help you achieve the vibe or concept you're going for in your product images.
Having efficient equipment for your product images will make your life easier. So, investing in the best products is essential to achieve great results.
Now that you have your photography equipment ready, it's time to...
4. Choose the finest lighting
The lighting can make or break your product photos. That's why you need to choose the lighting suitable for your products.
For example, you're leaning into a more upscale feel for your product. It might be perfect to use dark and moody lighting to achieve that.
That's how important lighting is. Some lighting you can explore are:
- Natural light - this light comes from the sunlight. This is perfect if you want your product to look like it does in real life.
- Key light - this lighting points directly to the subject or products.
- Fill light - its job is to lighten the shadows and is usually placed on the opposite side of the key lighting. As the name states, the light "fills in."
- Backlight - a backlight is placed behind the product.
If you have your own product photography studio, it might be best to invest in lighting materials.
So, once you're done with shooting the products... it's time for the post-production process.
5. Edit the photos
Editing the photos doesn't mean manipulating them. You need to enhance them to bring out the best in your shots.
Here are some photo editing software apps to use:
These tools will help you make the necessary changes to improve the overall look of your images... like increasing or decreasing brightness, cropping unnecessary parts, and more.
You must also choose the proper ratio before uploading it on your social media channels and website.
So, are you ready?
Produce high-quality photos with these product photography set up tips!
Who knew that you could take fantastic product images even if you don't have your own photography studio, right? It's also achievable even if you can't hire a professional photographer.
You have to be clear on your vision to plan ahead and make it a reality. So, what are you waiting for?